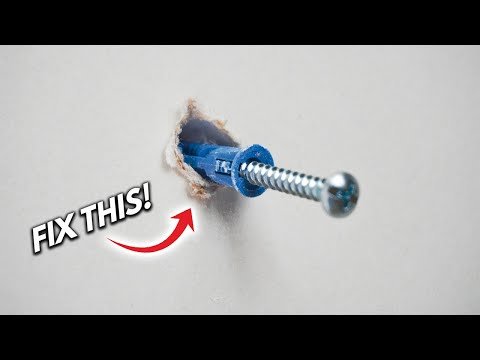
Drywall anchors are a handy solution for hanging shelves, pictures, and other items on walls. However, they can sometimes become loose or damaged due to weight overload or improper installation. If you find yourself facing this issue, don’t worry! With the right tools and techniques, you can fix loose or damaged drywall anchors and make them as good as new. This step-by-step DIY guide will show you how.
**Step 1: Assess the Damage**
Firstly, evaluate the extent of the damage to your drywall anchor. Is it loose because it wasn’t the right size for the weight of the object? Or has the wall material around it crumbled? Understanding why your anchor failed will help you choose the best repair method.
**Step 2: Remove the Old Anchor**
Carefully remove the screw from the anchor. If the anchor is loose but intact, gently pull it out with pliers. If it’s damaged or stubborn, you might need to use a drill to remove it by drilling into the center of the anchor and pulling it out.
**Step 3: Prepare the Hole**
Once you’ve removed the old anchor, prepare the hole for repair. If there’s minor damage around where the original drywall anchor was installed, use a utility knife to clean up any loose material and create a smooth opening.
**Step 4: Patch Up Larger Holes**
For holes that have become too large for a standard-sized drywall anchor, use spackle or joint compound to fill in and stabilize them. Apply spackle using a putty knife into and around the hole, then smooth out with a damp cloth. Allow ample time for drying as per product instructions usually overnight.
**Step 5: Sand and Paint**
Once your patch has dried completely, lightly sand over it to ensure a smooth surface that’s flush with your existing wall texture. Wipe away any dust with a slightly damp cloth before applying paint that matches your wall color.
**Step 6: Install a New Drywall Anchor**
Choose an appropriate type of new drywall anchor based on your wall type and load requirement e.g., expansion anchors for heavier loads in solid walls and toggle bolts for hollow walls.
– Drill at an appropriate spot on your repaired patch or choose another location if needed.
– Press in your new wall plug gradually until flush with wall.
– Screw in partially until sturdy enough to support weight but do not attach any load yet.
**Step 7: Attach Your Fixture**
Now attach your fixture bracket or item back onto newly installed screw within new secure anchor adjust position as required before tightening screw fully ensuring stable mount.
**Final Checks**
Once everything is set up recheck all fastenings are secure by gently testing load bearing capacity ensuring no undue movement at fixture point against wall pressure indicating complete repair success!
With these simple steps you can effectively fix loose or damaged drywall anchors without needing professional help This not only saves money but also extends life of interior fixtures keeping home looking great Enjoy hanging decorations confidently knowing behind-the-scenes supports are robustly reconfigured!

Leave a Reply