Building a deck can transform your outdoor space, providing a comfortable area for relaxing and entertaining. This kind of home improvement project can also increase the value of your home. If you’re ready to tackle this as a DIY project, here’s a step-by-step guide to help you construct your own deck.
**Step 1: Design and Planning**
First, decide on the size, shape, and location of your deck. Consider how you plan to use the space and what size will best fit your needs. Check local building codes and regulations to ensure compliance, especially concerning railing requirements and foundation depth.
**Step 2: Gather Materials and Tools**
You will need:
– Pressure-treated lumber or composite decking
– Joists
– Concrete piers or deck blocks
– Ledger board
– Flashing tape
– Screws and nails (specific for outdoor use)
– Drill
– Circular saw
– Level
– Tape measure
– Hammer
**Step 3: Prepare the Site**
Clear the area where you will build the deck. Remove any sod or debris and level the ground as much as possible. For a sturdier construction, consider removing topsoil where footings or piers will go.
**Step 4: Install Ledger Board**
Attach a ledger board to the side of your house to provide part of the deck’s support. Use flashing tape against the house to prevent water damage. Make sure it is securely fastened using appropriate screws or bolts directly into your house’s frame.
**Step 5: Lay Foundations**
Depending on your design, install concrete piers with metal brackets or set down precast concrete blocks at strategic points to support the weight of the deck. Ensure all foundation points are level with each other for stability.
**Step 6: Install Joists and Frame**
Construct a frame using rim joists around the perimeter of your deck area, attaching them to your ledger board. Install floor joists at recommended intervals within this frame for structural integrity.
**Step 7: Decking**
Once your frame is complete, start laying decking boards horizontally across the joists. Begin from one end and work towards your home, ensuring each board is securely attached using screws or nails. Leave an appropriate gap between boards for drainage.
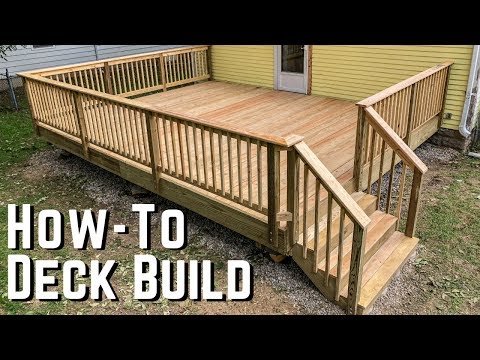
**Step 8: Add Railings and Stairs (if necessary)**
If your deck is elevated, install railings around its perimeter for safety purposes following local code requirements. If stairs are needed, construct them ensuring that treads are even and risers are secure.
**Step 9: Finishing Touches**
Apply a water-resistant sealer or stain if needed based on material type—which not only enhances appearance but also extends its life by protecting it from elements like sun exposure or rain.
**Final Thoughts**
Building a deck requires careful planning, hard work, right tools but ultimately it rewards you with beautiful outdoor addition useful throughout various seasons! Whether youre hosting summer barbecues family gatherings relaxing afternoons lounging outside enhance both functional aesthetic appeal home through DIY decking project!
Leave a Reply